Add MPX Items to the Toolbox
Follow the steps below to manually add the “MPX By Danaher Motion” tab to the Toolbox window in Visual Basic.
| |
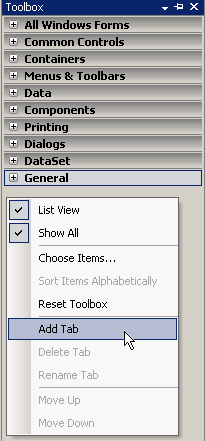
- Right-click anywhere in the Toolbox window and select the Add Tab menu item.
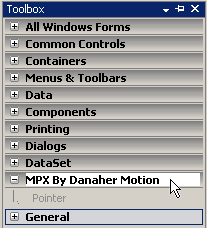
- Type “MPX By Danaher Motion” in the newly created tab.
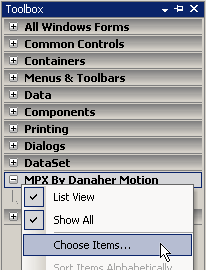
- Right-click on the MPX By Danaher Motion tab and select the Choose Items… menu item.
- In the Choose Toolbox Items dialog box, click on the Browse… button.
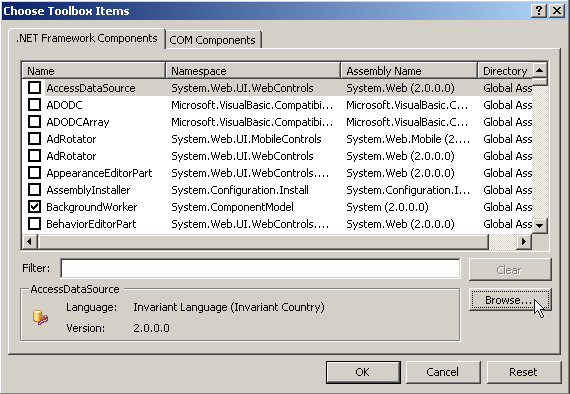
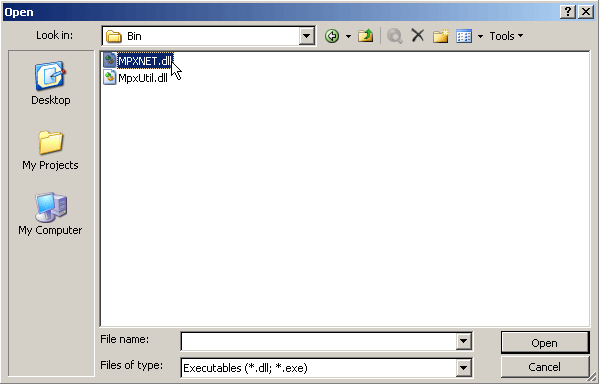
- In the Open dialog box, navigate to the MPX installation directory and then into the Bin directory. There are two .DLL files: MPXNET.dll and MpxUtil.dll.
Select the MPXNET.dll file and click Open.
- Back in the Choose Toolbox Items dialog box, click OK.

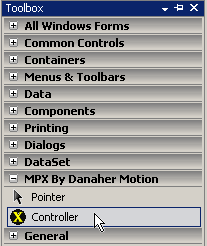
- In the Toolbox, under the MPX By Danaher Motion tab, you should now see the MPX Controller icon.
NOTE: The icon will appear grayed out unless a Windows form is the active window.
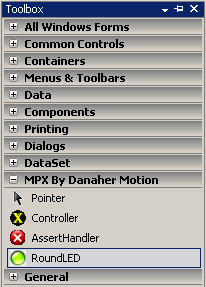
- Repeat steps 3 through 6, but this time add the file MpxUtil.dll.
- In the Toolbox, under the MPX By Danaher Motion tab, you should now see the MPX Controller icon plus an assortment of other icons.
Congratulations! You successfully added MPX items to the Toolbox.
|
Previous | MPX API Documentation |

