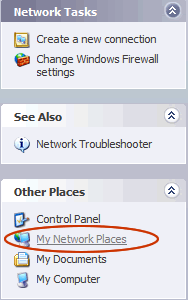
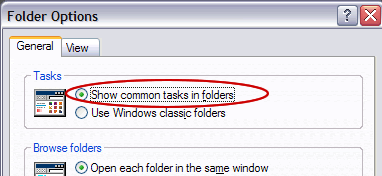
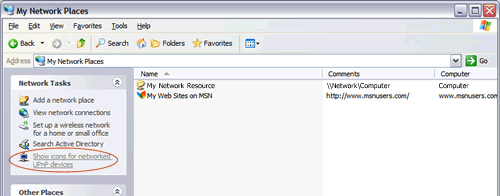
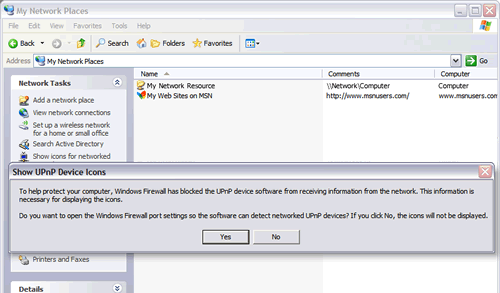
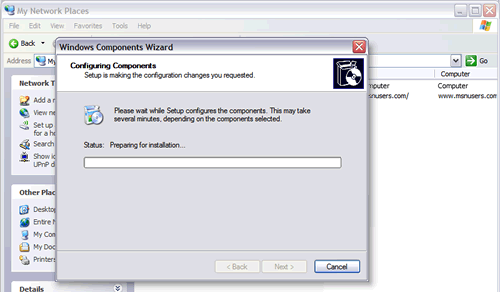
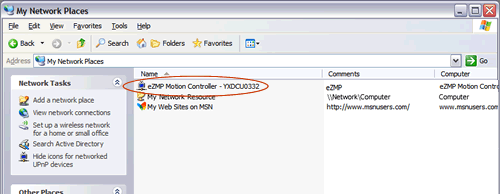
.

Enable UPnP on the Host System

The eZMP advertises itself as a Universal Plug 'N Play device (UPnP) on a local area network or through a direct connection with a crossover cable. In order to connect to the eZMP, you must first configure the host system to show all networked UPnP devices.

  1. Go to the Start Menu, click on Control Panel. In the Control Panel window, double click on Network Connections. In the Network Connections window, under the Other Places tab on the left, click My Network Places.

    Windows Common Tasks Sidebar
    If you do not see the sidebar show above in the Network Connections window, you must change the Windows Explorer folder options.

    In the Network Connections window, go to the Tools > Folder Options. Under the General tab in the Folder Options window, select Show Common tasks in folders under the Tasks heading. Click OK to apply the changes.


    The common tasks sidebar should now be visible in the Network Connections window.

  2. Under the Network Tasks tab on the left of the My Network Places window, click Show icons for networked UPnP devices. Windows will start to install the UPnP component.
  3. If the Show UPnP Device Icons confirmation dialog box appears, click Yes to continue setting up UPnP.
  4. Windows will now install the necessary components.
  5. When the installation of Windows UPnP components is complete, any UPnP devices connected to the host system or connected on the local area network will appear in the My Network Places window.


<< eZMP Startup | Quick Start Contents | Remote Desktop to the eZMP >>


       Legal Notice  |  Tech Email  |  Feedback
      
Copyright ©
2001-2021 Motion Engineering