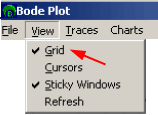
View Menu
Grid Lines
The grid lines and labels can be removed by clicking View -> Grid. A check next to the menu item indicates whether the grids are enabled or not.
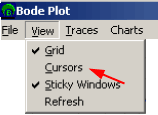
Cursors
The cursors can be removed by clicking View -> Cursors. A check next to the menu item indicates whether the cursors are enabled or not.
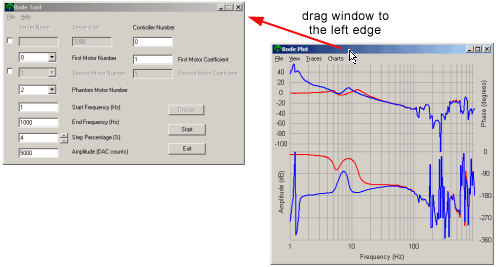
Sticky Windows
"Sticky Windows" can be turned on and off by clicking
View -> Sticky Windows. "Sticky Windows" makes the Bode Tool and
Bode View windows move together when the edges of the window are
in close proximity and one of the windows is moved.


Refresh
When iterating through filters, it is convenient to quickly see the changes of the applied filter. Clicking View -> Refresh gets the filter parameters off of the controller and replots the response simulation.

Previous | Next

